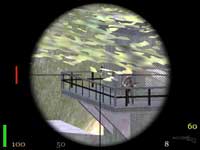
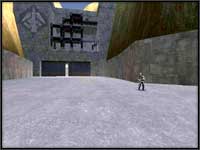
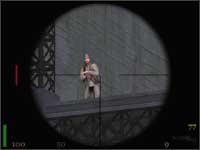
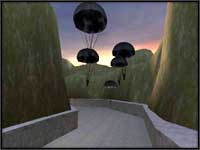
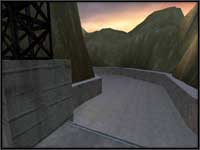
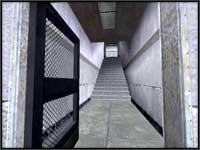
| You'll start the level in a large drainage pipe overlooking the experimental airbase. You can save yourself a lot of headaches by sniping the two guards on the tower to the right, and another one visible on the ground below. |
Mission 3, Level 4:
Air Base Assault
| Objectives: Gain access to "Kobra" launch silo Prep "Kobra" for launch Capture "Kobra" and fly to OSA airbase in Malta |
Mission Briefing:
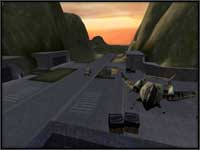
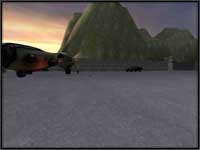
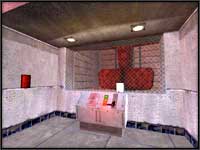
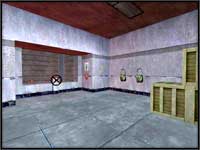
Enter the experimental aircraft test facility via the outer compound of the rocket base. The airbase houses the latest Bachem Ba317 "Kobra" experimental rocket plane in a hangar at the northern perimeter. Upon infiltration of the airbase, eliminate any resistance and proceed to the "Kobra" launch hangar.
You will need to prep the "Kobra" for launch, so look for launch procedure documentation in the facility. Once you have appropriated the "Kobra" and are airborne, proceed immediately back to the OSA airbase in Malta. The Ba317 is reported to travel at speeds in excess of 500 knots, so enemy air defenses should offer no problem. Contact OSA immediately upon touchdown in Malta for debriefing and further orders.
Good luck.
|
|
 |
|
 |
|
 |
|
 |
|
 |
|
 |
|
 |
|
 |
|
 |
|
 |
|
 |
|
 |
|
 |
|
 |
|
Debriefed Jack Stone at OSA by coded radio at Malta. Airdropped in forest near SS rocket base at Katamarunde where I infiltrated the V2 Rocket Base through means of stealth approach. Once inside base destroyed V2 with "dirty water" warhead aimed for London. Fought through heavy resistance on way out to reach Experimental Aircraft Facility. Successfully infiltrated Aircraft Facility, located launch directives and "appropriated" experimental Bachem-317 Kobra Rocket Plane. Flew without incident back to Malta to turn over Kobra to OSA scientists.